Find the screws at the bottom, there is a screw in the middle, two screws in the middle of the two ends of the line, four screws in the four corners, some screws hidden under the label, after removing the screws, some charger shell has a card hook, a pry open.
Extended data
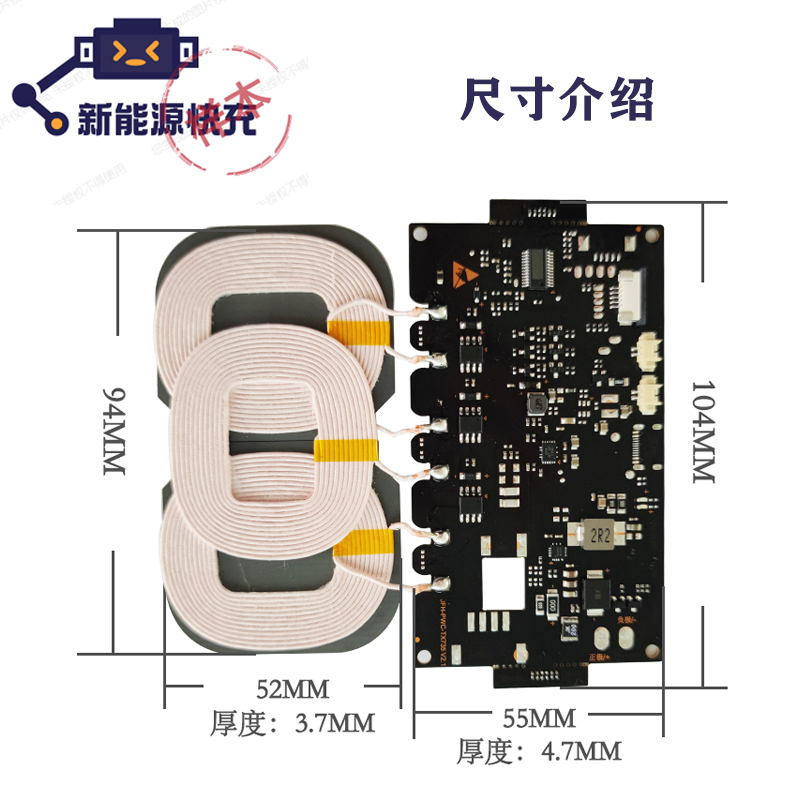
electric vehicle charger
Electric car charger is a charging device specially configured for electric bicycle batteries! Classification of chargers: with and without power frequency (50 Hz) transformers, can be divided into two categories. Freight three-wheel chargers generally use chargers with power frequency transformers, large volume, large weight, electricity consumption, but reliable, cheap; Electric bicycles and motorcycles use so-called switching power chargers, which save electricity and are highly efficient, but are easy to break.
The correct operation of the switching power charger is: when charging, plug the battery first, and then add the mains; When sufficient, first cut off the mains power, and then unplug the battery. If you unplug the battery first when charging, especially when the charging current is large (red light), it is very easy to damage the charger.
The commonly used switching power supply type charger is divided into two categories: half-bridge type and single-excitation type, and the single-excitation type is divided into forward and flyback types. The half-bridge type has high cost and good performance, and is often used in chargers with negative pulse; Single excitation has low cost and high market share.
operating principle
220v AC is suppressed by T0 bidirectional filtering, D1 rectification is pulsed DC, and then C11 filtering forms a stable DC of about 300V. U1 is a TL3842 PWM integrated circuit. Its 5 pins are the negative electrode of the power supply, 7 pins are the positive electrode of the power supply, 6 pins are the pulse output direct drive Fect Q1(K1358) and 3 pins are the maximum current limit, and the maximum current of the charger can be adjusted by adjusting the resistance value of R25(2.5 ohms).
Pin 2 is voltage feedback, which can adjust the output voltage of the charger. The 4-pin external oscillation resistor R1 and oscillation capacitor C1 are connected. T1 is a high-frequency pulse transformer, which has three functions.
The first is to reduce the high voltage pulse to the low voltage pulse.
The second is to play the role of isolating high pressure to prevent electric shock.
The third is to provide working power for uc3842. D4 is a high-frequency rectifier tube (16A60V), C10 is a low-voltage filter capacitor,D5 is a 12V voltage regulator diode, U3(TL431) is a precision reference voltage source, and U2(optical coupler 4N35) plays a role in automatically adjusting the charger voltage. Adjusting w2(Trimmer resistance) can fine-tune the voltage of the charger. D10 is the power indicator. D6 is the charging indicator.
R27 is the current sampling resistance (0.1 ohms, 5w) Changing the resistance value of W1 can adjust the inflection point current of the charger
(200-300 mA) At the beginning of power-on, there is about 300v voltage on C11. This voltage is loaded all the way through T1 to Q1.
The second route passes R5,C8,C3 to the seventh leg of U1. Force U1 to start. Pin 6 of U1 emits a square wave pulse, Q1 works, and electricity flows through R25 to the ground. At the same time, T1 secondary coil generates induced voltage, and D3,R12 provides a reliable power supply to U1. The voltage of T1 output coil is rectified and filtered by D4 and C10 to obtain a stable voltage. This voltage charges the battery all the way through D7 (which prevents the battery's current from being poured back into the charger).
The second route, through R14,D5,C9, provides 12V working power supply for LM358(dual operational amplifier, pin 1 for power ground, pin 8 for power positive) and its peripheral circuit. D9 provides the reference voltage for the LM358, and the partial voltage of R26 and R4 reaches the second and fifth pins of the LM358. During normal charging, the upper end of R27 has a voltage of about 0.15-0.18V. This voltage is added to the third pin of LM358 through R17, and a high voltage is sent from pin 1. This voltage goes all the way through R18, forcing Q2 on,
D6 (red light) is on, the second route is injected into pin 6 of LM358, pin 7 outputs low voltage, forcing Q3 to turn off, D10(green light) to turn off, and the charger enters the constant current charging stage. When the battery voltage rises to about 44.2V, the charger enters the constant voltage charging stage, the output voltage is maintained at about 44.2V, the charger enters the constant voltage charging stage, and the current gradually decreases. When the charging current is reduced to 200mA - 300mA, the voltage at the upper end of R27 drops, the voltage of pin 3 of LM358 is lower than pin 2, pin 1 outputs low voltage, Q2 is turned off, and D6 is turned off. At the same time, pin 7 outputs a high voltage, which makes Q3 turn on and D10 turn on. Another route goes through D8, W1 to the feedback circuit, which reduces the voltage. The charger enters the trickle charging stage. The charge ends after 1-2 hours.
There is a plastic button between the upper and lower shell of the electric car charger, to press down the middle of the shell with your thumb, there will be a gap in the upper shell, use your nails to open a plastic button, and then open the second one, you can open it without damage.