
First, we need to get some tools, including a small screwdriver and a plastic pry bar. Make sure the device is disconnected and turned off before you disassemble. Please note that care should be taken during the disassembly process to avoid damage to the equipment.
< br >
In the first step, we need to find the screws on the Apple 12 wireless charger. Usually, these screws are located on the bottom or side of the charger. Using a small screwdriver, turn these screws counterclockwise until they are fully loosened.
< br >
Next, use a plastic pry bar to gently insert the charger housing into the internal connection. Slowly detach the charger housing from the internal components by applying the appropriate force. Please note that using a plastic pry bar instead of a metal tool is to avoid scratching or damaging the charger.
< br >
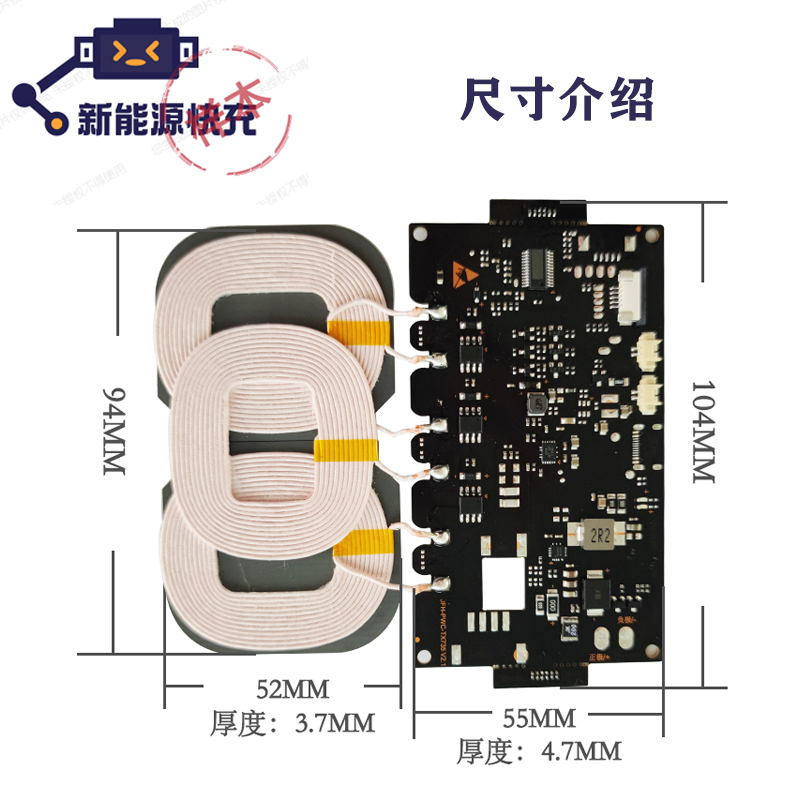
Once the charger housing has been successfully separated, we can see its internal components. This could include circuit boards, cables and other components. At this stage, try to avoid touching any electronic components directly to avoid generating static electricity or causing damage.
< br >
If you need to further disassemble specific parts of the charger, it is recommended that you consult the relevant disassembly guide or seek professional help. Apple products often have complex designs and structures, so incorrect operation can cause damage to the device.
< br >
If you want to reassemble the Apple 12 wireless charger after the disassembly is complete, do so in the reverse order and make sure all screws are installed correctly. At the same time, check that all connections and cables are properly inserted.
< br >
In short, dismantling the Apple 12 wireless charger requires careful and careful operation. If you are unsure or unfamiliar with the process, it is best to seek the help of a professional. Only proper operation and maintenance can ensure the normal function and safety of the charger.
Removing the 12 wireless charger requires careful operation. First, use a screwdriver to unscrew the bottom of the charger.
Then, gently insert a plastic tool into the gap at the bottom of the charger and slowly loosen the case.
Next, carefully remove the case from the charger. During the dismantling process, be careful not to damage the internal circuits and cables. If further disassembly is required, the circuit board or other components can be removed as needed.
After the disassembly is complete, remember to carefully store the parts for subsequent assembly or maintenance. Please note that disassembling electronic products is risky and it is recommended that experienced personnel perform this operation to avoid damage or safety issues.